I was curious to see the difference between the NOOBS installation and traditional RAW image I burned to my SD Card, so I walked through both of them last night. I noted a couple of differences between the two. I just thought I’d share with those of you who’d like to know, but never take the time to find out. This little experiment also led to me finding a solution for my VNC glitch. For this experiment, I have my Raspberry Pi connected to the internet by a CAT5 cable hooked up to a switch in my entertainment center, and HDMI to TV.
The RAW image file I downloaded for Raspbian came in at 490MB. That’s less than half of the NOOBS package, but then again it’s only one of several Linux distros that NOOBS offers. This image file needs to be decompressed from it’s zip file, and the burnt to an SD Card with a utility like Win32 Disk Imager, or any other utility that can handle these file types.
NOOBS vs. Raspbian RAW Image
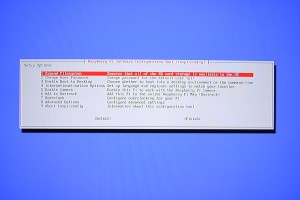
I boot right into a menu with the NOOBS configuration utility that allowed me to select from a list which OS distribution I want to use. In this case, I was comparing the install to a RAW Raspbian image, so that is the Linux system I selected. Right from there the system began to install Raspbian to the SD Card, and when I finished it booted me back in to the “raspi-config” program.
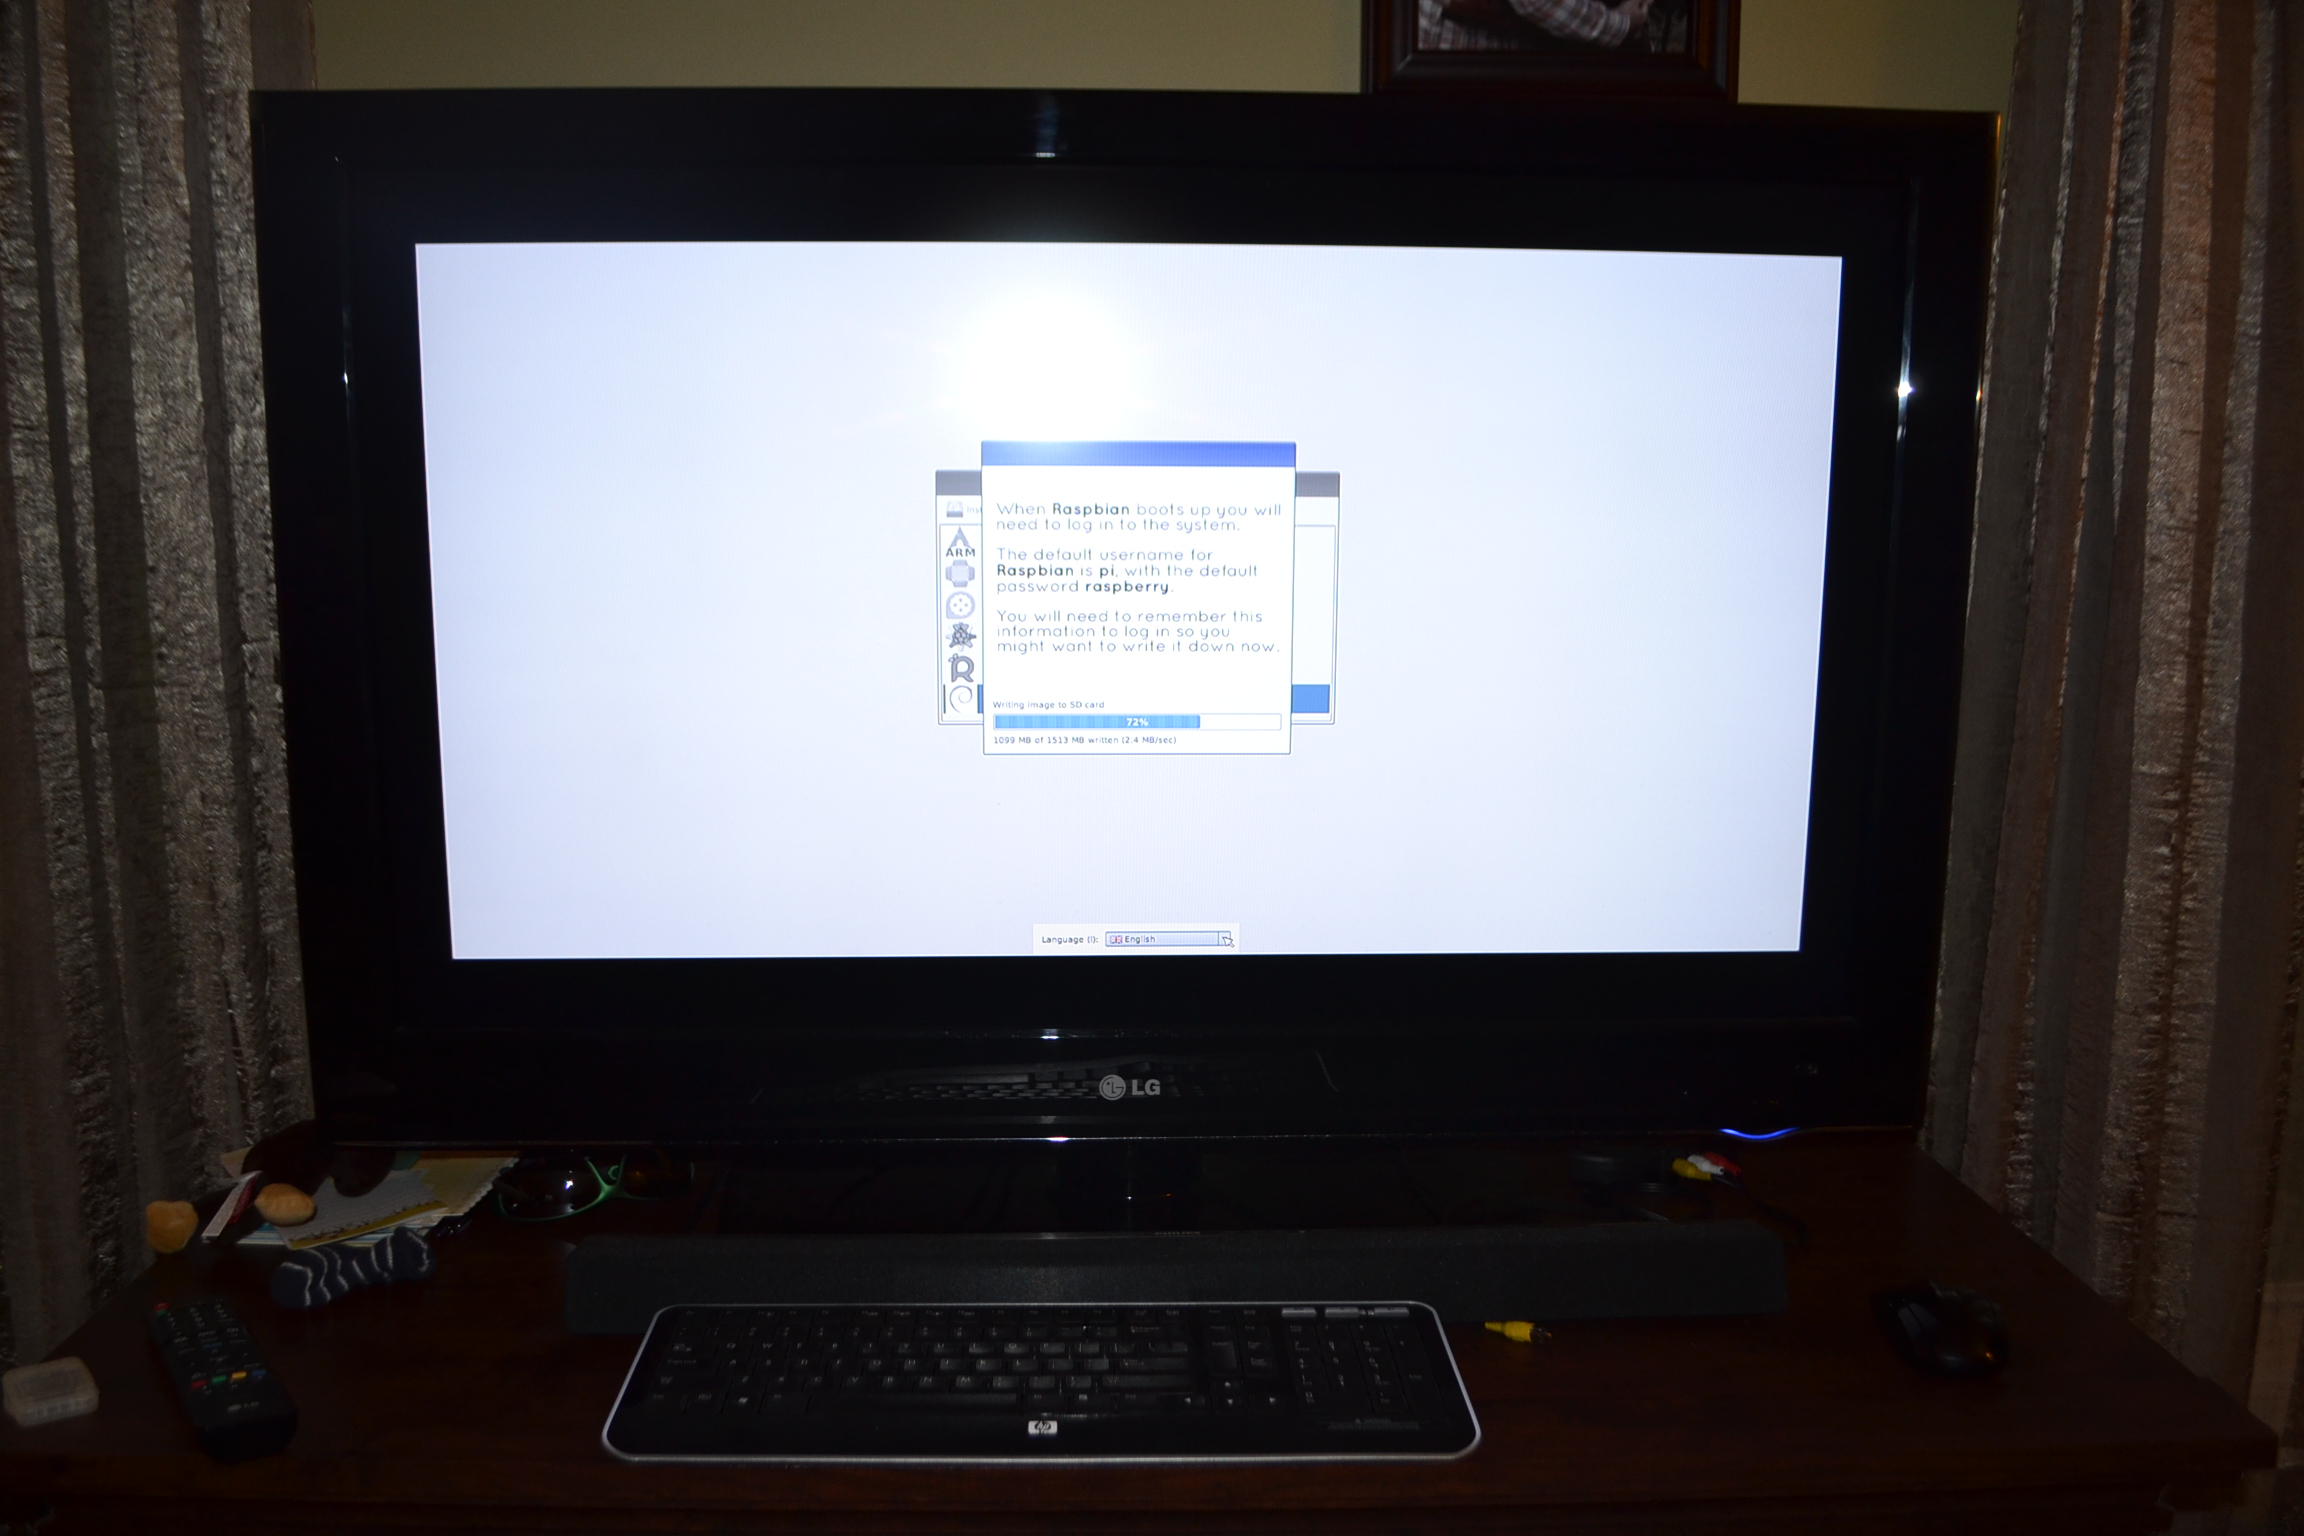
The first difference I noted here is that NOOBS already expands the size of your SD Card for you; where as with the image file, you need to manually have the system do this.
Upon a fresh boot of the NOOBS Raspbian install, it also appears to call a NOOBS boot loader because I can see a graphical interface on a white backdrop flash on the boot screen, almost like a BIOS. When I boot from a RAW image, this is not needed.
However, once in to the Raspbian desktop, system performance and feel seems very comparable (if not identical) to the RAW image. I expected this to be the case, but I am not sure if the NOOBS boot loader is in memory or not.
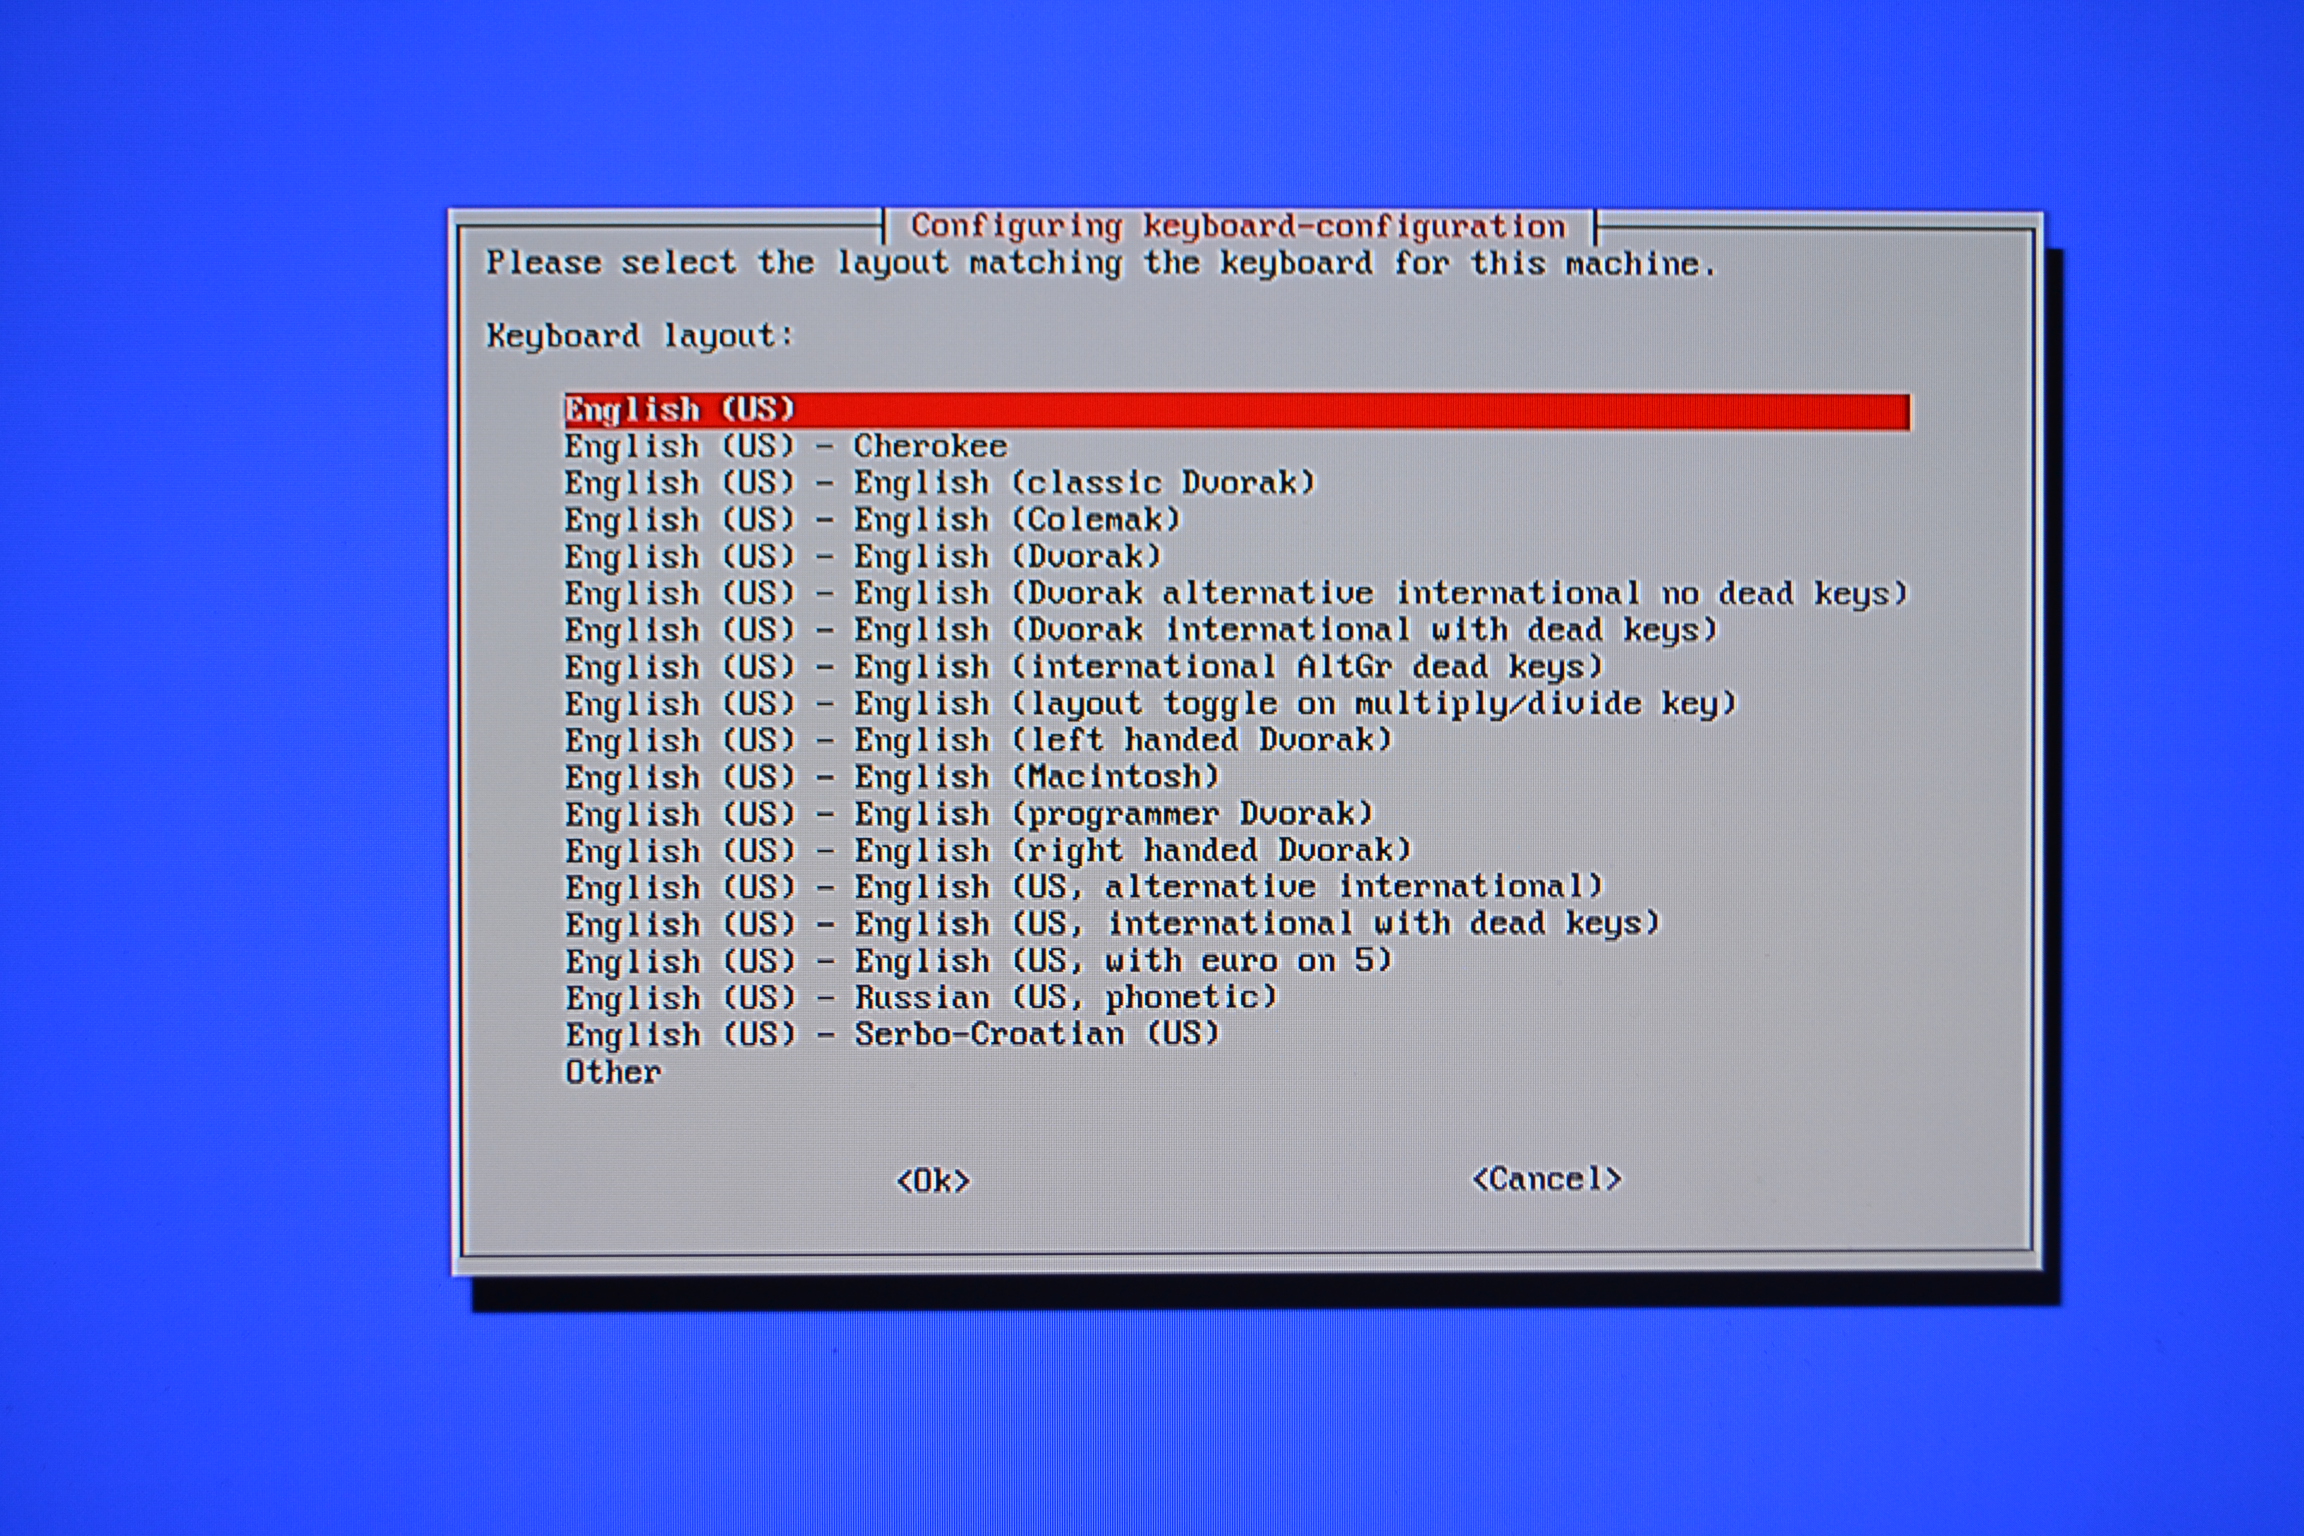
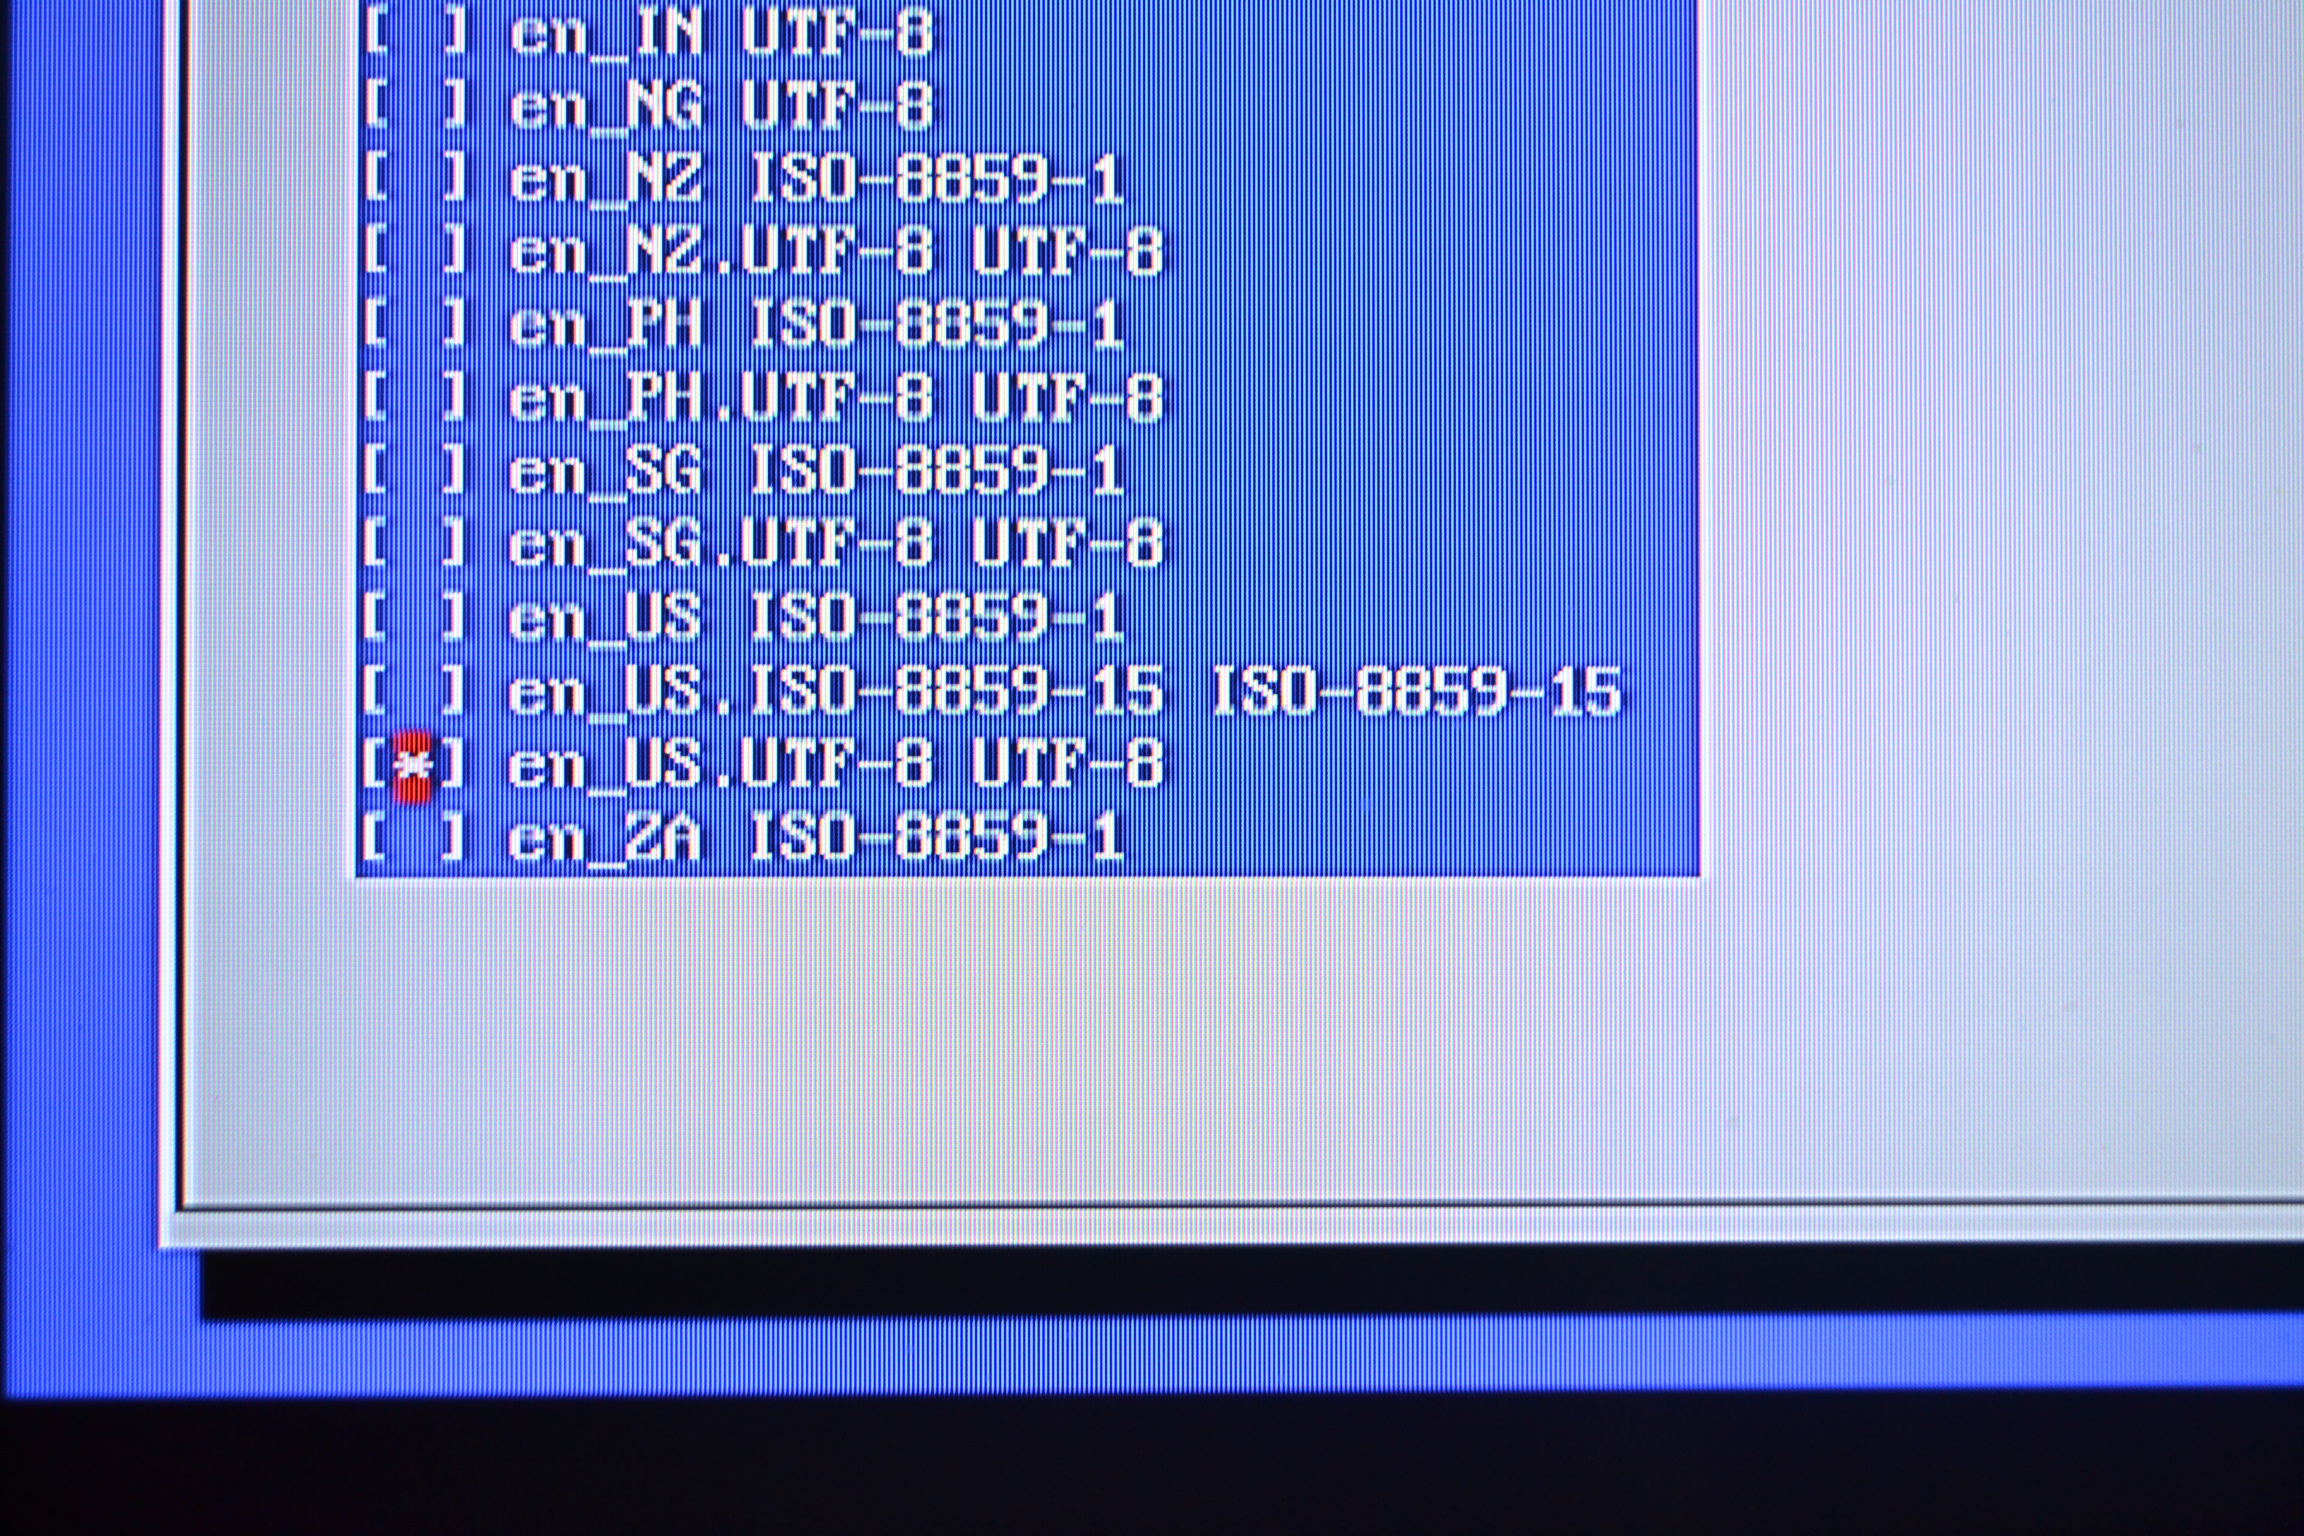
Residing in the United States, it’s important to keep in mind that the Raspberry Pi originates back in the motherland. With that being said, there are different dialects of English that are recognized by the Pi. Make sure to take note of the language you are using, your locale, as well as your keyboard layout. And if you don’t speak English, you don’t have to worry about this technicality.
Now after coming off of an older Raspbian release from back in November, there was a minor headache I had to deal with.
Setting up the VNC server provided a little bit of an annoyance for me because of how the client software reacts differently now than it did before. This annoyance occurred with both the NOOBS install and RAW image.
After installing the tightvncserver, I used my UltraVNC Viewer to login. Annoyingly, I had dealt with some graphical artifacts on the desktop.
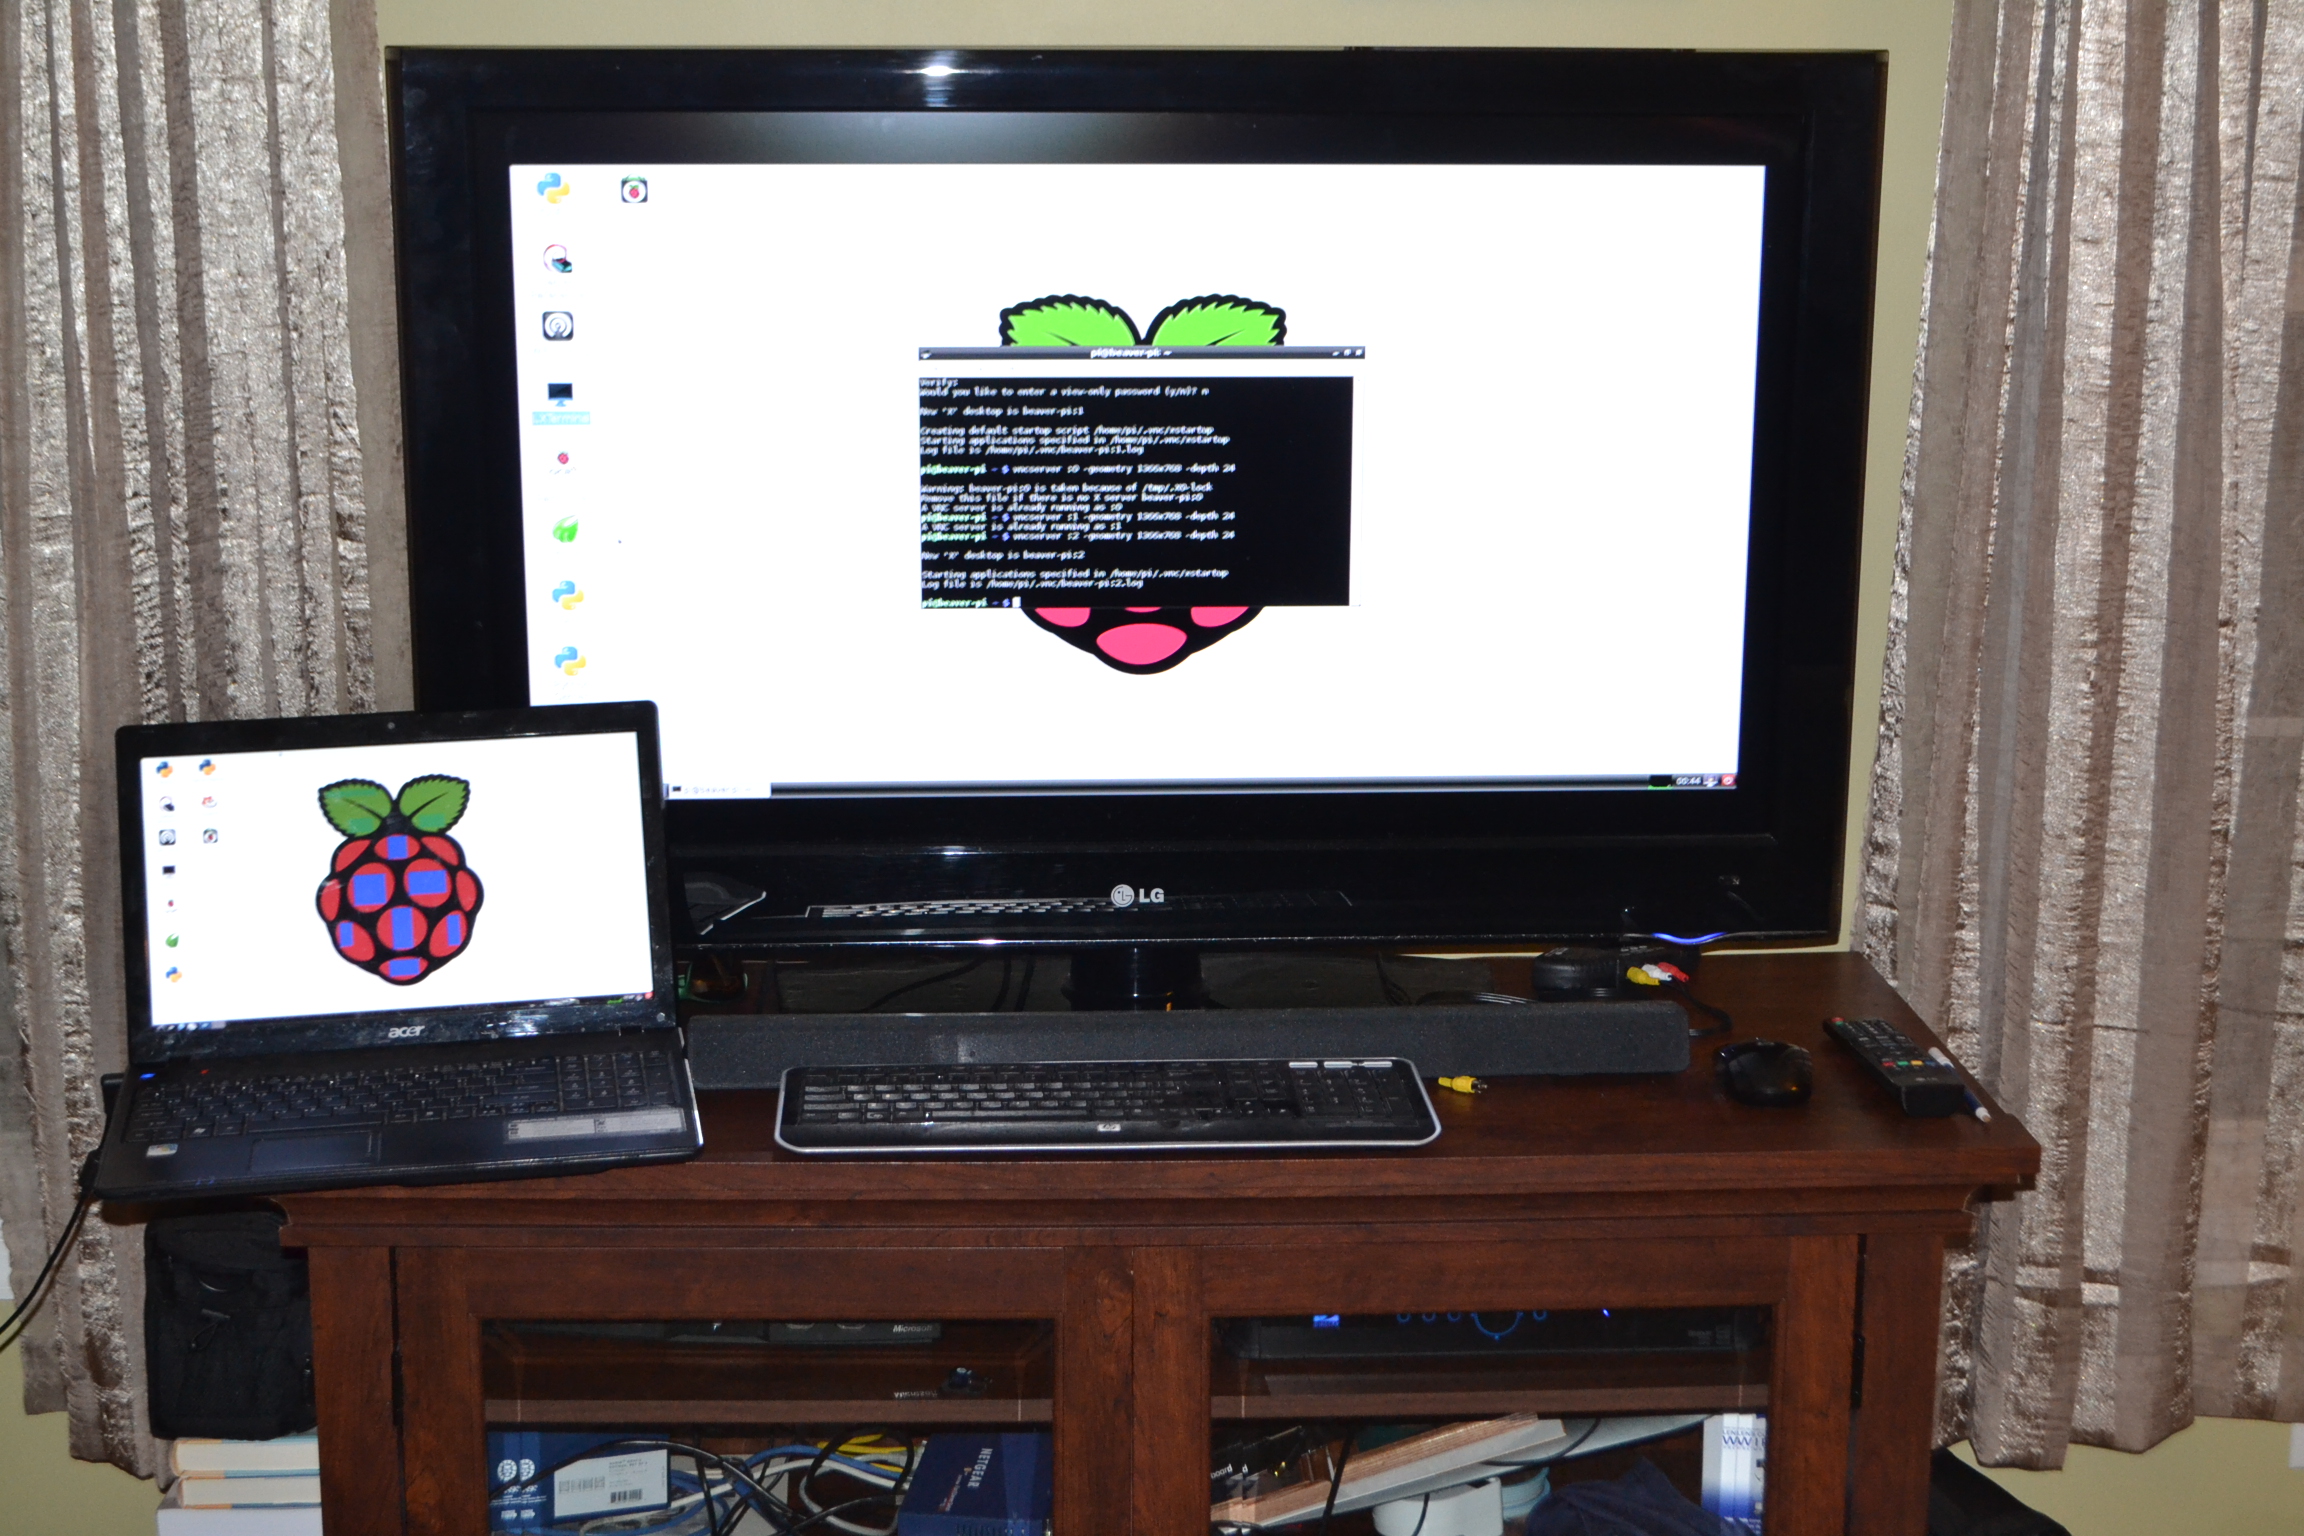
As you can see in the image above; there is the original Pi setup on the larger screen, and the VNC connection setup on the laptop. Both screens are accessing the same Raspberry Pi at the same time. The television is connected via HDMI, and the laptop is connected via VNC on LAN over WiFi. A closer look at the laptop reveals some blotchy graphics on the Raspberry picture centered on the desktop.
My initial setup was done on a Class 4, 4 GB SD Card. I considered the read/write speed to be a potential conflict, and flashed another image onto a Class 10, 8 GB SD Card. Unfortunately, this didn’t help at all. I had another 8GB Class 10 card with a November 2012 release of Raspbian “Wheezy” on it that didn’t give me this problem. So I considered another potential cause, running two graphical user interfaces simultaneously.
In order to run the two desktops together, I had to configure my VNC server to port :2. In the documentation or tutorials, you see most people use port :0. However, :0 and :1 were being used locally so I just tried the next port, :2. I now wanted to reverse this local configuration, so I went in to ‘raspi-config’ and disabled the ‘Enable Boot to Desktop’.
After booting back to a shell, I initialized my VNC server on port :0. I logged in the way I usually did from my UltraVNC Viewer, and I still had the distorted desktop.
To make a long story short, the local connection settings in my UltraVNC configuration had to be slightly modified. Now I’m back to the clean looking remote desktop.
In most on-line tutorials I see, the speed option is usually set to ULTRA (>2MBits – Experimental).
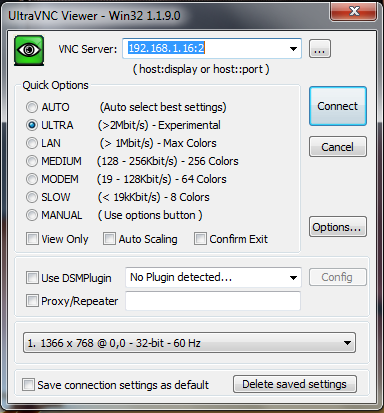
With just a little trial and error, fortunately I found that ‘LAN (> 1Mbit/s) – Max Colors’ works just as I had it before with earlier releases of Raspbian. The small configuration change on the client side eliminates the color problem I had on my connection. I played around on the server side as well, but this simple solution was really all that I needed.