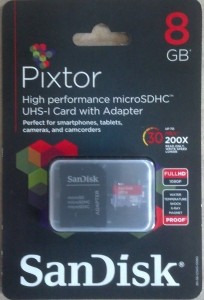
 As the Raspberry Pi shows up in a package at your house and you pull that small embedded system out of the envelope, you have an entirely almost complete system in your hand. I say almost complete, because everything you need to boot up is there except for a medium to load your operating system and store your files. This is where the SD Card comes in.
In order to prepare the card for booting up your Raspberry Pi, you will need a computer that has a memory card slot available to copy an image of your selected operating system to. Raspbian “Wheezy” was the original Linux distribution designed specifically for the Raspberry Pi, and has the most community support. As popularity continued to grow, you can now find a Fedora distro -“Pidora”, a minimal Linux system called RISC OS, XBMC for those looking to design a home theater system, and a version of Arch Linux for more advanced users. Like choosing which version of Windows you run on your PC, you can also choose different flavors of operating systems for your Pi. The NOOBS software package was designed for first time Pi users to get up and running. If you are doing this for the first time, I will recommend installing the Raspian “Wheezy” distro.
Preparing your SD Card can be done from any type of operating system on your computer, whether it’s MacOS, Windows, or Linux.
The Raspberry Pi community has an already established wiki that walks you through the installation. From this link you will find the several options that I have mentioned, and the choice is up to you.
After burning the desired image to your SD Card, all you need to do is insert the card into your Pi and plug in the power. There is no On/Off switch on the Pi, and to get mine running I just used an old USB cell phone charger. Make sure you have at least 5 volts of power running 700ma.
The benefit again of having the Pi boot off of an SD Card is that you can buy a card for each and every OS you want to take a look at. If you have common files you want to use between them, then you consider a small USB thumb drive.