Author Archives: Chris Beaver

Installing LAMP On Your Pi

LAMP is an acronym for Linux Apache MySQL PHP.  Some people may say the P stands for Perl or Python, but we’re going to stick with PHP for now as it is the most popular back-end scripting language.

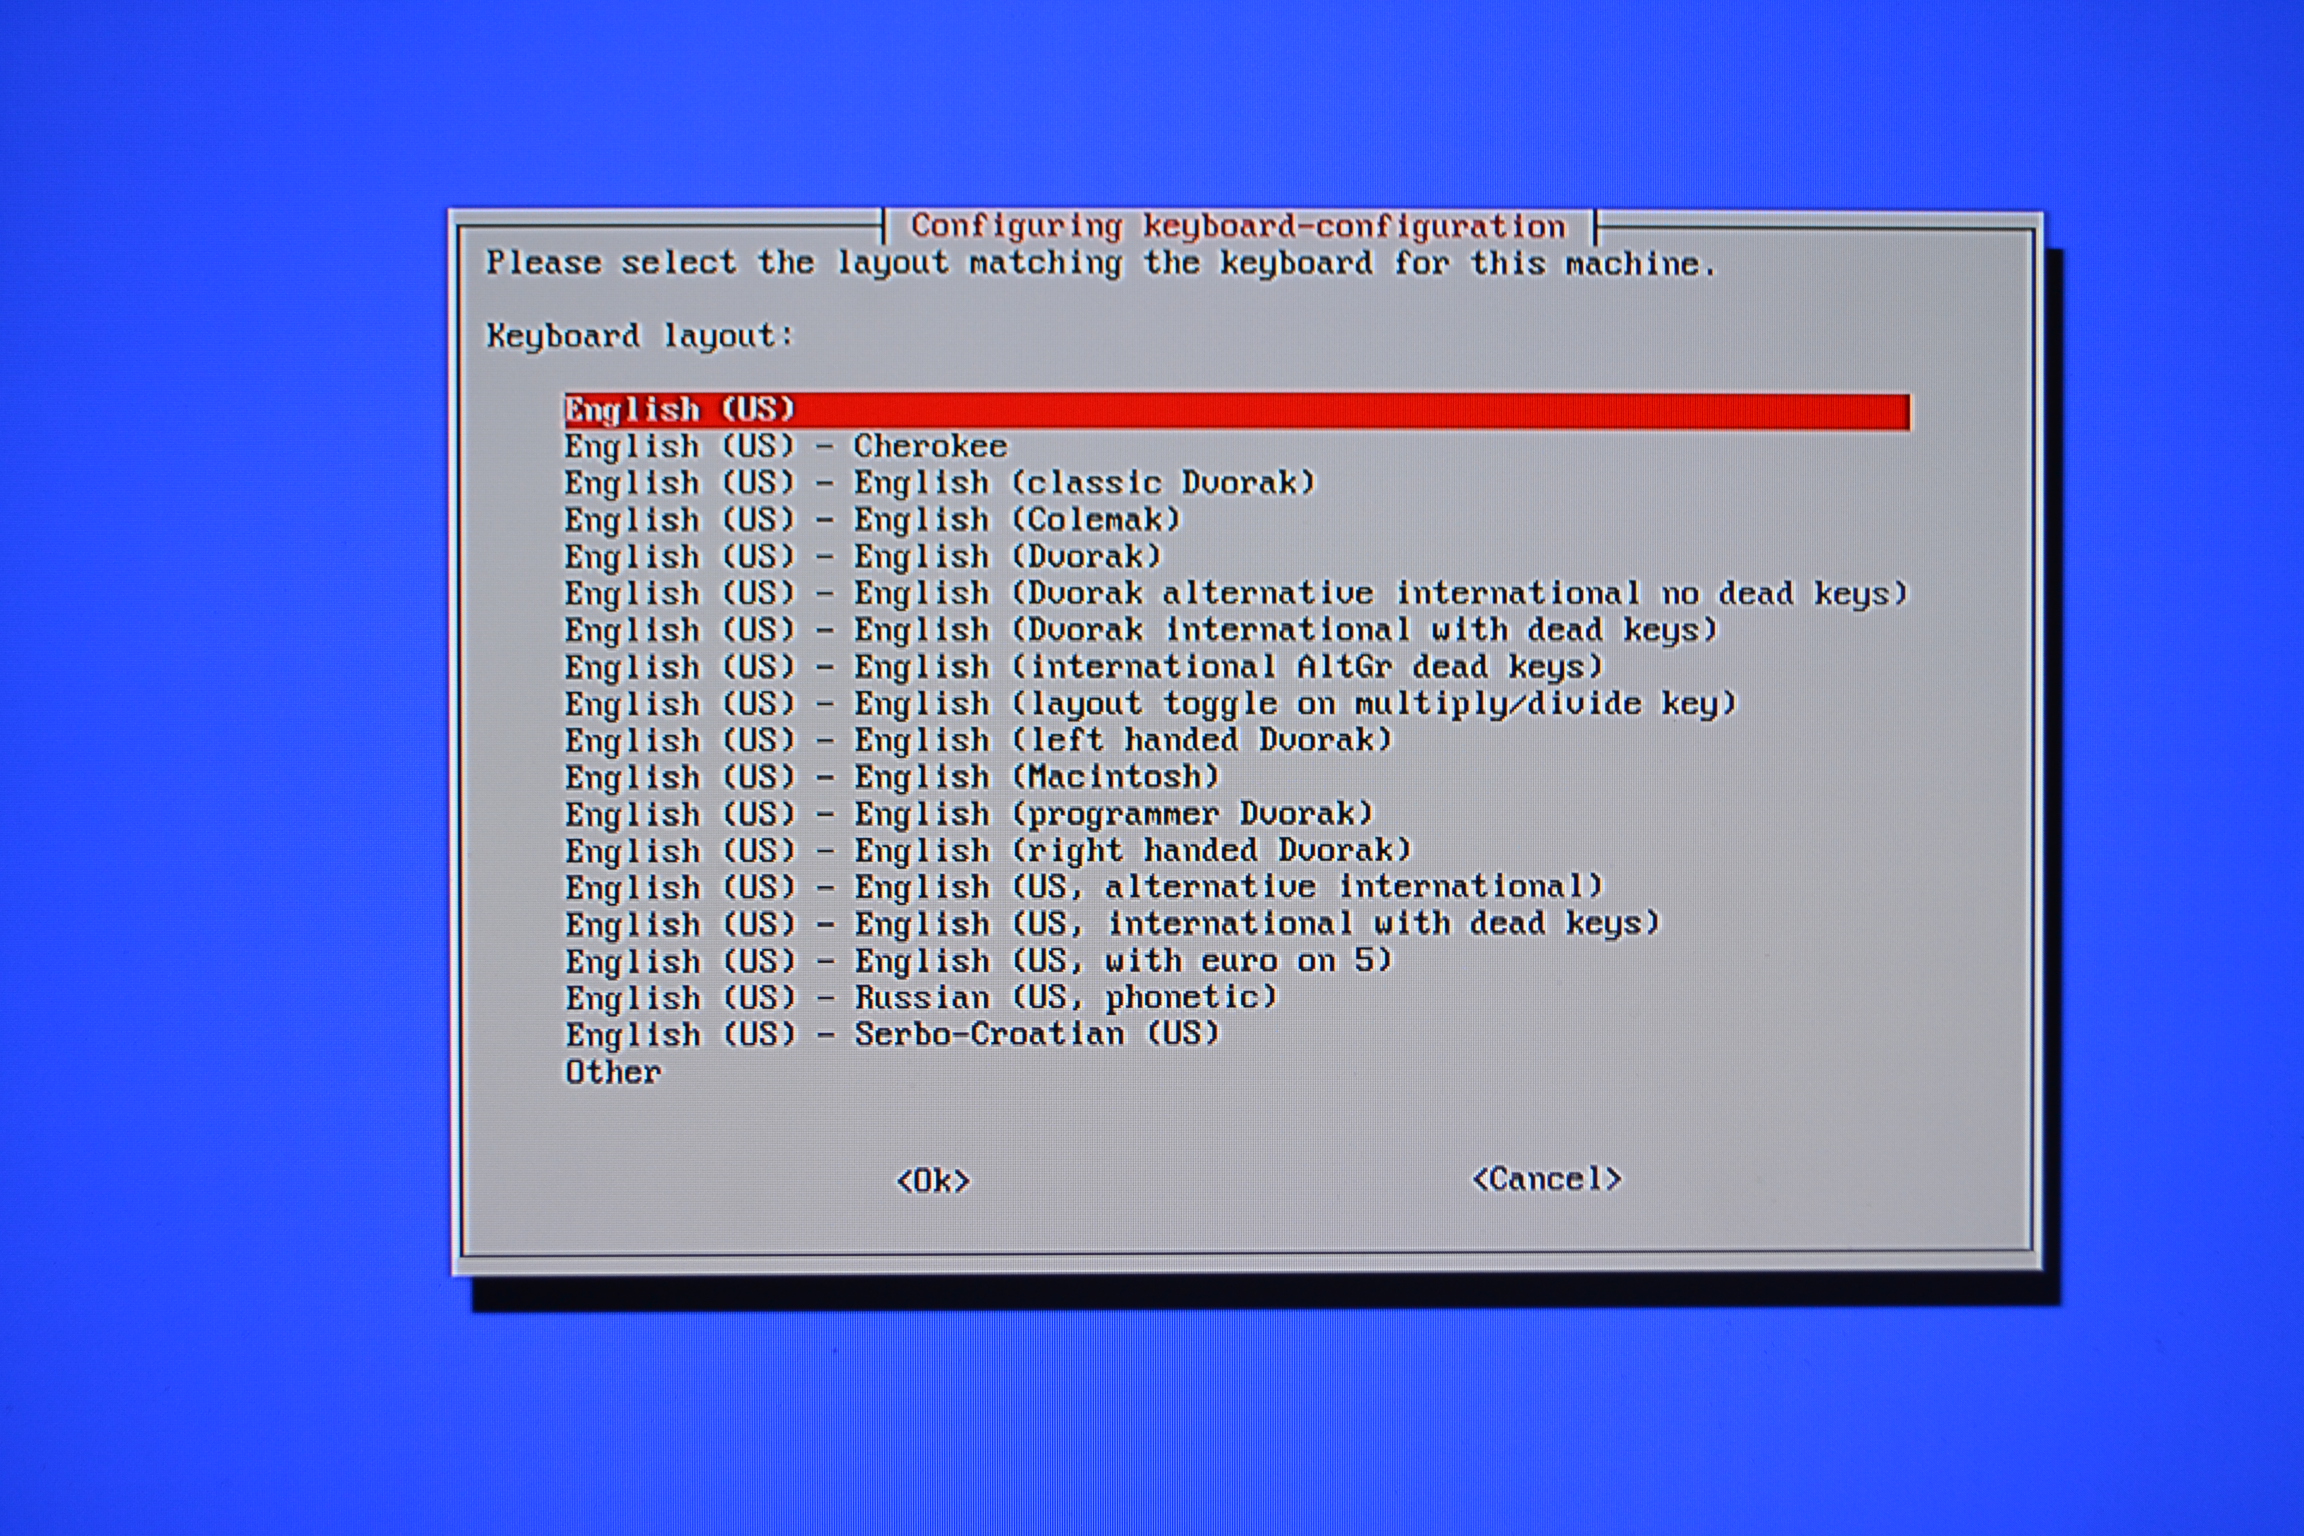
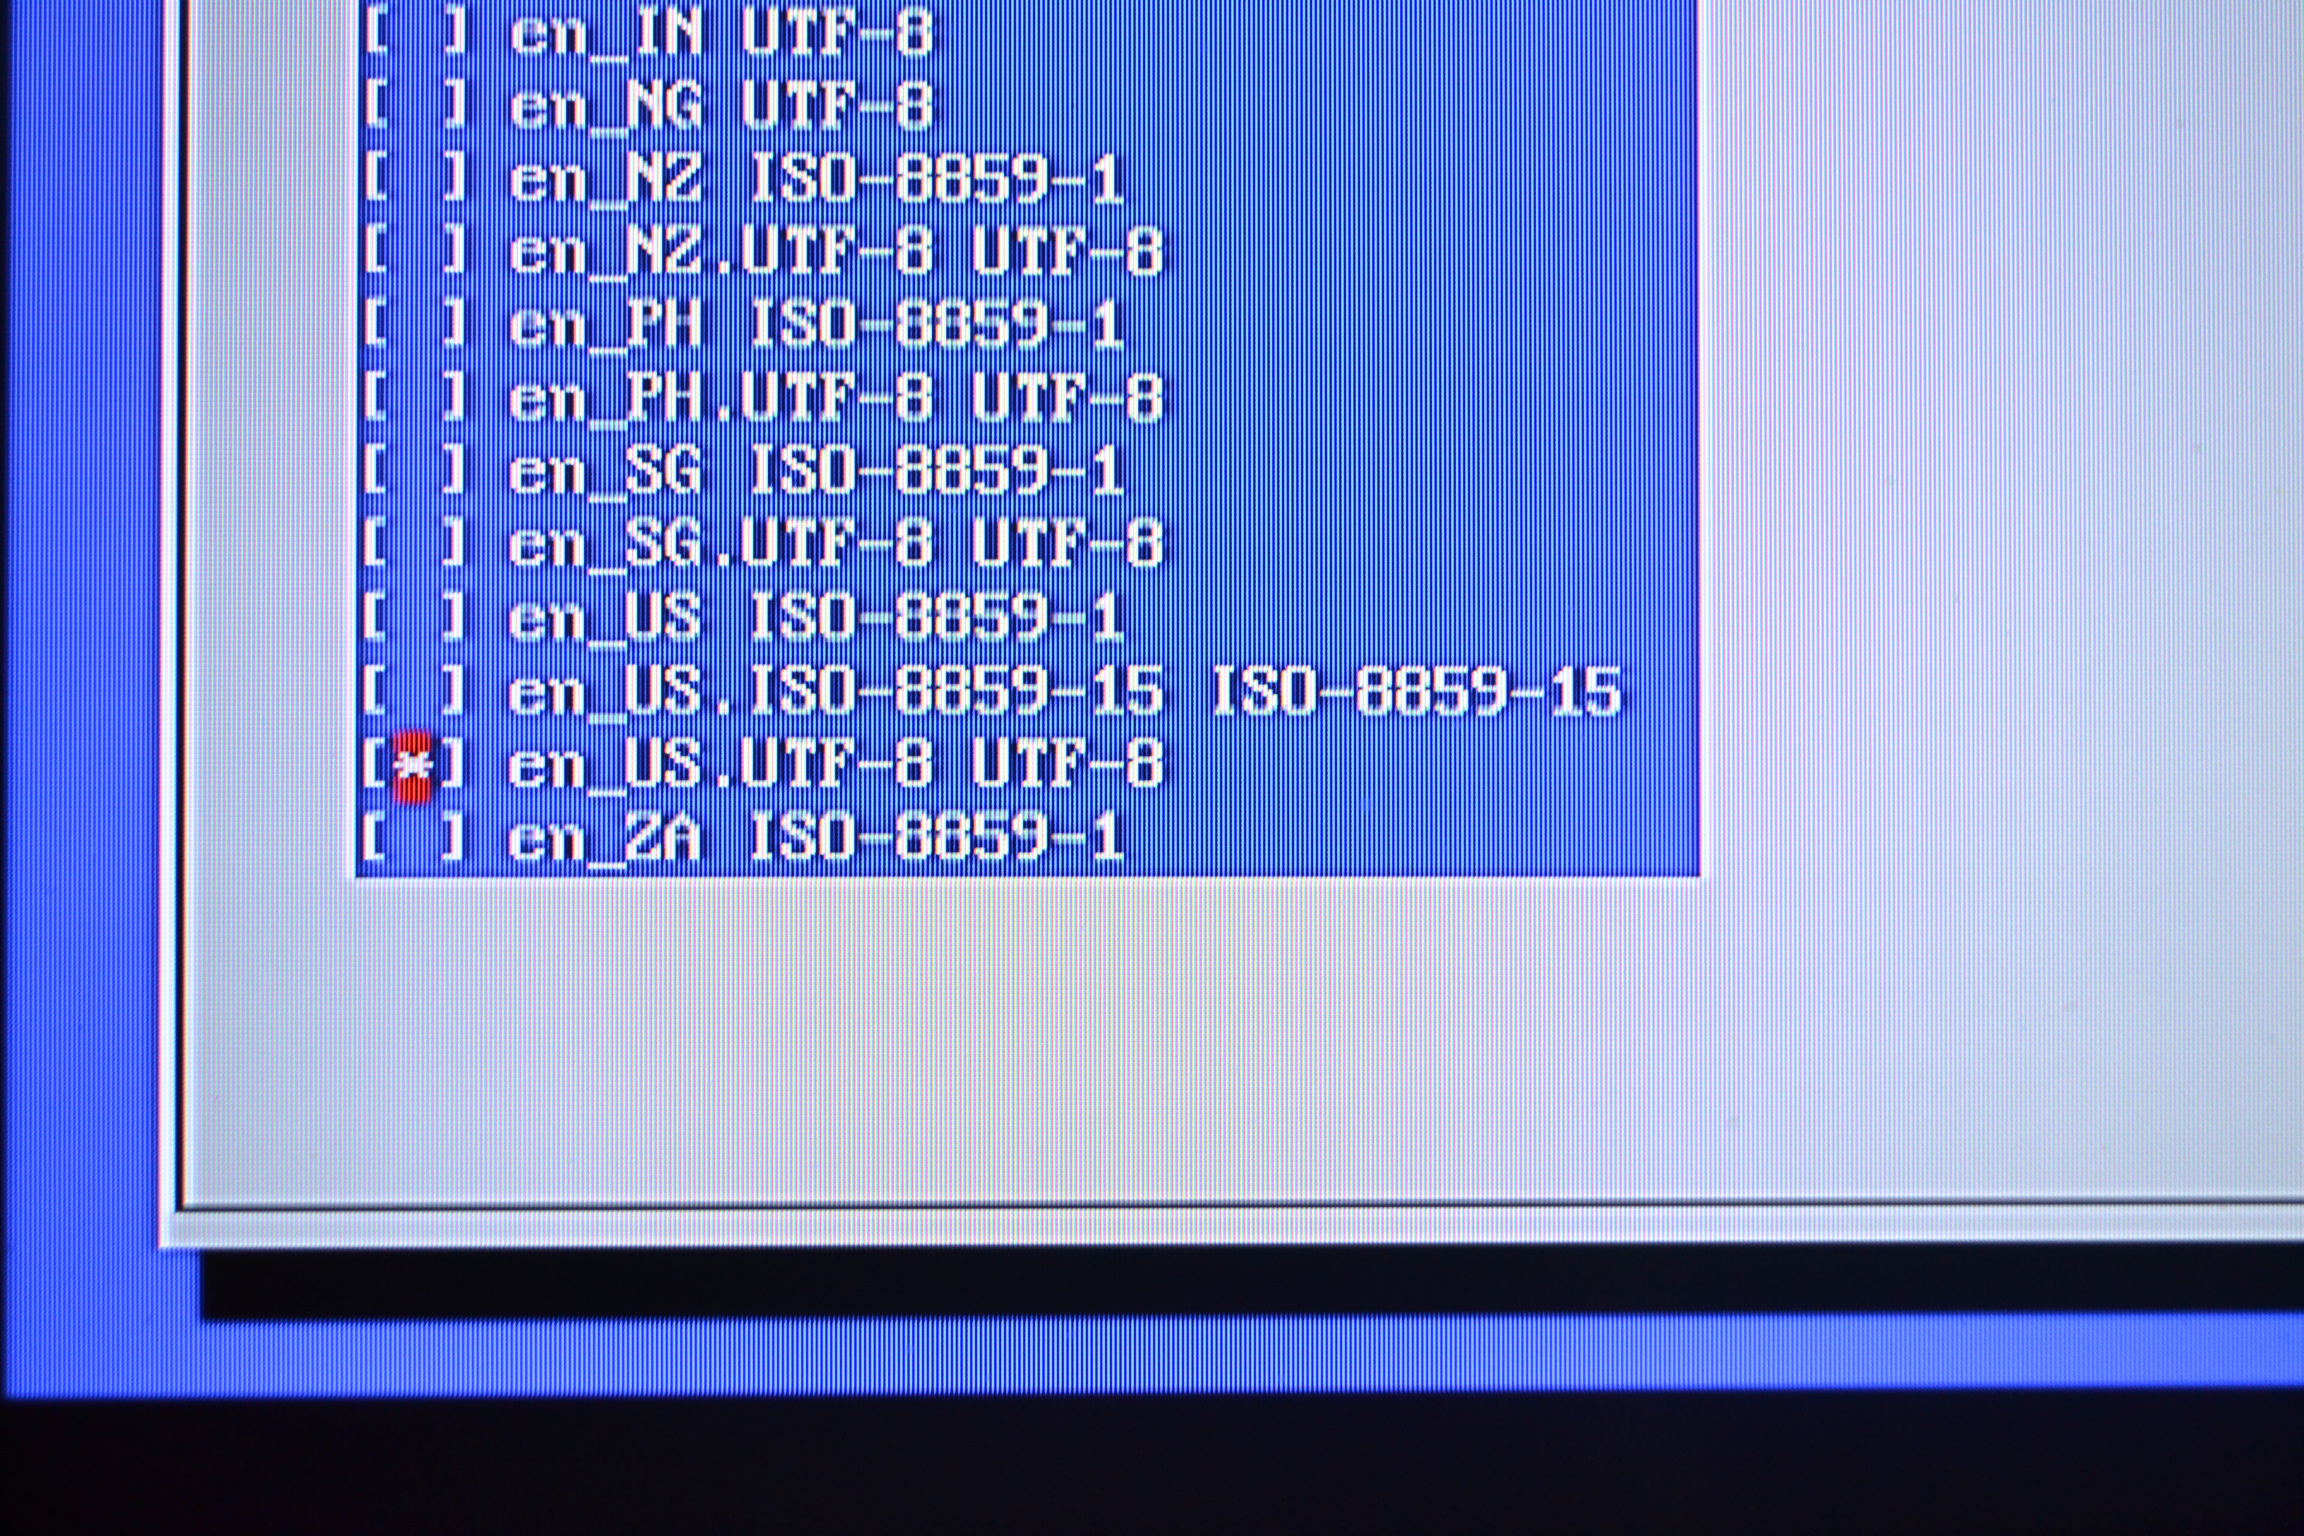
Linux is the base operating system on the Raspberry Pi, and by now we should have that installation taken care of.  The operating system tells the Pi how to interact with it’s other hardware.  If you still haven’t installed your operating system on an SD card for the Pi, take a look here to learn how to Install Raspian on an SD Card.

Apache is a popular open source (meaning free) web server that can run on multiple operating systems like Linux, Windows, or Mac.  This is the software that fetches our documents to display to a client when requested from a web browser.  Apache is a very popular web server and runs well on the Pi under a minimal load.  I use it because I know it well, however some may argue to use NginxLighttpd, or some other server since the Pi isn’t built to be a heavy duty server.  For the demonstrations on this site, I find it to be adequate.

MySQL is the database server that we will install on our Pi.  There are many variations again for the database server we select, however the important thing to note is that we are using a SQL server.  Structured Query Language is a language we can use to interact with our database server to manipulate a database.  This would be used for things like a blog, a user base, a store’s inventory . . .  basically anything we can interact with, manipulate, add to, or delete.

PHP was one of the first back-end languages created for server side scripting. It’s job is to execute a script on the fly to grab data from the user or another web interface and create a dynamic web page. And as I mentioned before, we have other variants like Perl or Python that we could use instead.  For the sake of some earlier lessons on this site, I want to start with PHP.
Install The Apache Web Server

As a general rule, I always like to update my repositories in Linux before I download any software. In order to do this, let’s go into the Terminal in Raspbian.

pi@raspberrypi ~ $ sudo apt-get update

Now that we have the repositories updated, let’s download the latest version of the Apache web server.

>pi@raspberrypi ~ $ sudo apt-get install apache2

It Works!

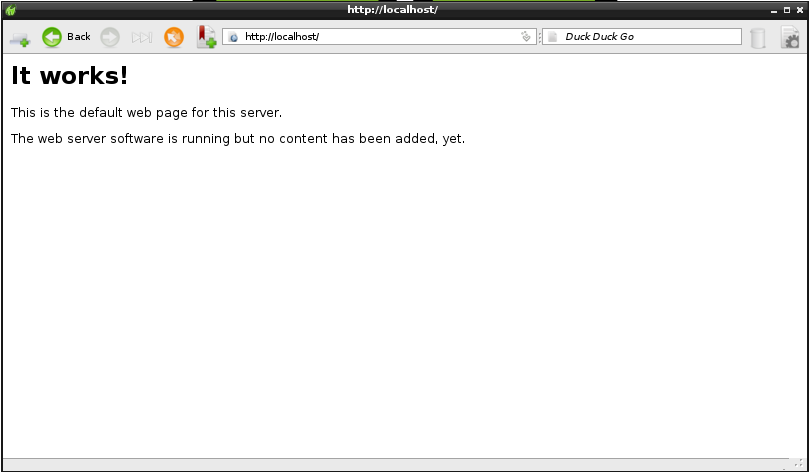
This builds a list of all the required packages to be downloaded. Type “y” and hit enter when it prompts you, and just wait for the software to install. You can see in the terminal as all of the software is being downloaded, and once you are returned to your prompt we can check to make sure everything was handled correctly. There is no window or open application to see the server at, it’s a background process that is running. So to see it in action, let’s open the Midori web browser from the Raspberry Pi. In the URL bar, just type in “http://localhost”, and see what you find.

The localhost reference is an obvious nickname referencing our own Raspberry Pi.  It actually calls our apache server, and that server located a web document on our Pi and sends it to the browser. So somewhere stored on our SD Card is the HTML document we see in our browser.  We want to find where this document is, so we can change the web page. By default, the apache web server stores it’s web page in a location at “/var/www”.  We can find this in the File Manager, and open the source in Leafpad.edithtml

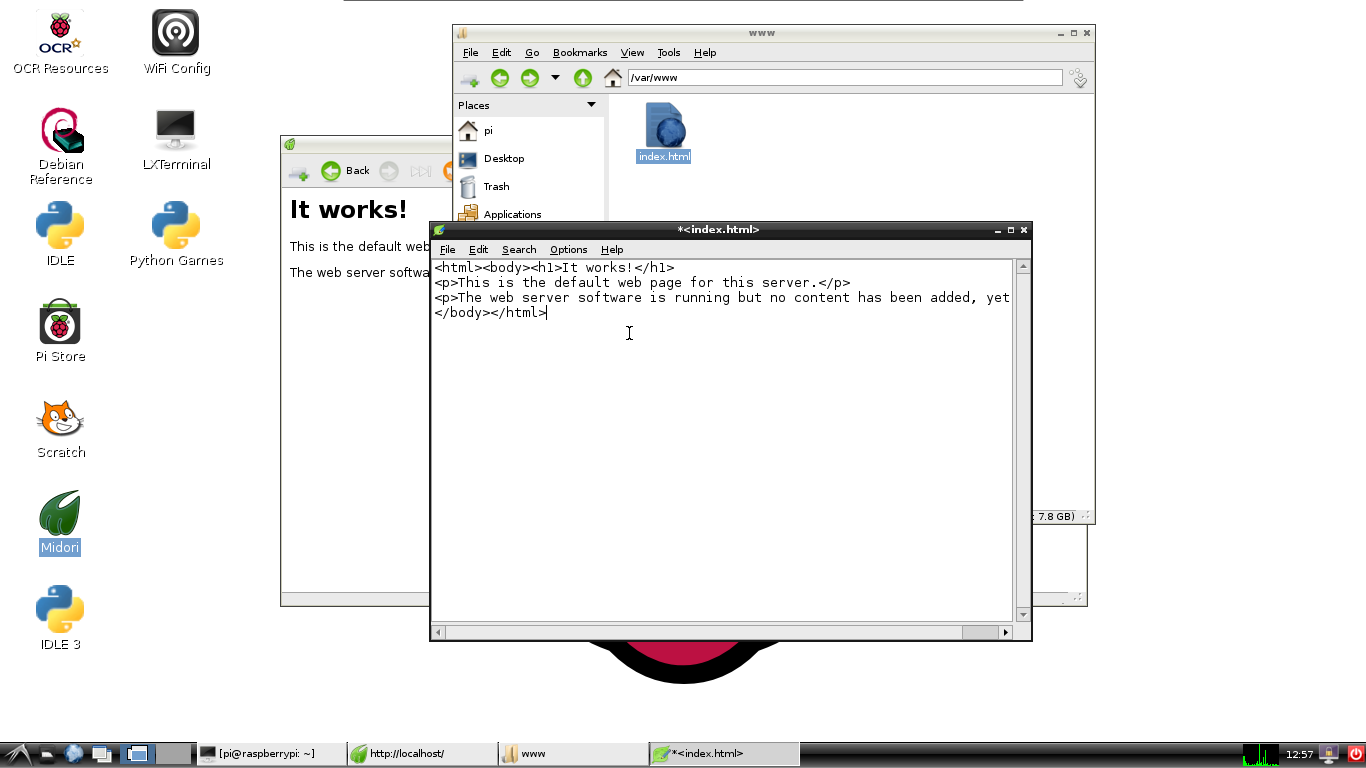
The only problem is, we cannot edit the file and save it.  This has to do with the Linux file system, and how it uses file/folder permissions.  We can see from looking at the ownership, the file and folder are index.html file is in belongs to user “root”. We are signed in as user “pi”, so we can temporarily act as “root” to give ownership of the folder to user “pi”. From the terminal, we can issue a command that will change the ownership of the www folder and it’s files.

pi@raspberrypi ~ $ sudo chown pi -R /var/www

No we have pi as owner of the www folder and files in it. This allows us to play around now with the HTML source, and edit the web pages. Inside Leafpad, I can now edit the index.html file and save it. Then when I reload the web page, my changes are noticed.

icannowedit

Install MySQL Server

Now that we can get our web server to load up a web page we can manipulate, let’s take a quick moment to set up our database server. I’m going to talk about MySQL in another tutorial, but we can just get it ready now. Back to the terminal, let’s get MySQL server up and running. I will point out that this thing is a resource hog, but it is a great educational tool.

pi@raspberrypi ~ $ sudo apt-get install mysql-server

MySQL
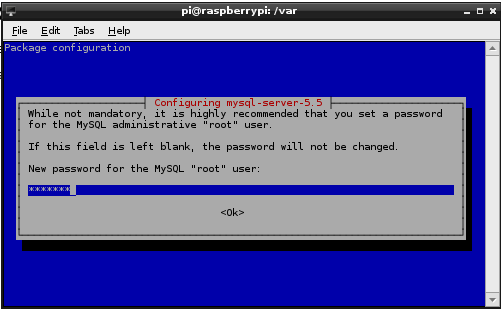
Hit “y” again at the prompt to have the installation continue. Like everything else with Linux, the databases have owners, and be default a root owner comes with the package. Select a password for this user when prompted to do so, and just remember it for later.

There are several ways to create, edit, and view databases.  One interesting way to do it is with our web browser.  We will look at that in it’s own tutorial. To make this possible though, we’re going to need a back-end web scripting language like PHP.

Install PHP

While still in the terminal, let’s get the PHP server up and running. We need to install two packages for this so we can use the web scripting language and have it interact with our database server.

pi@raspberrypi ~ $ sudo apt-get install php5 php5-mysql

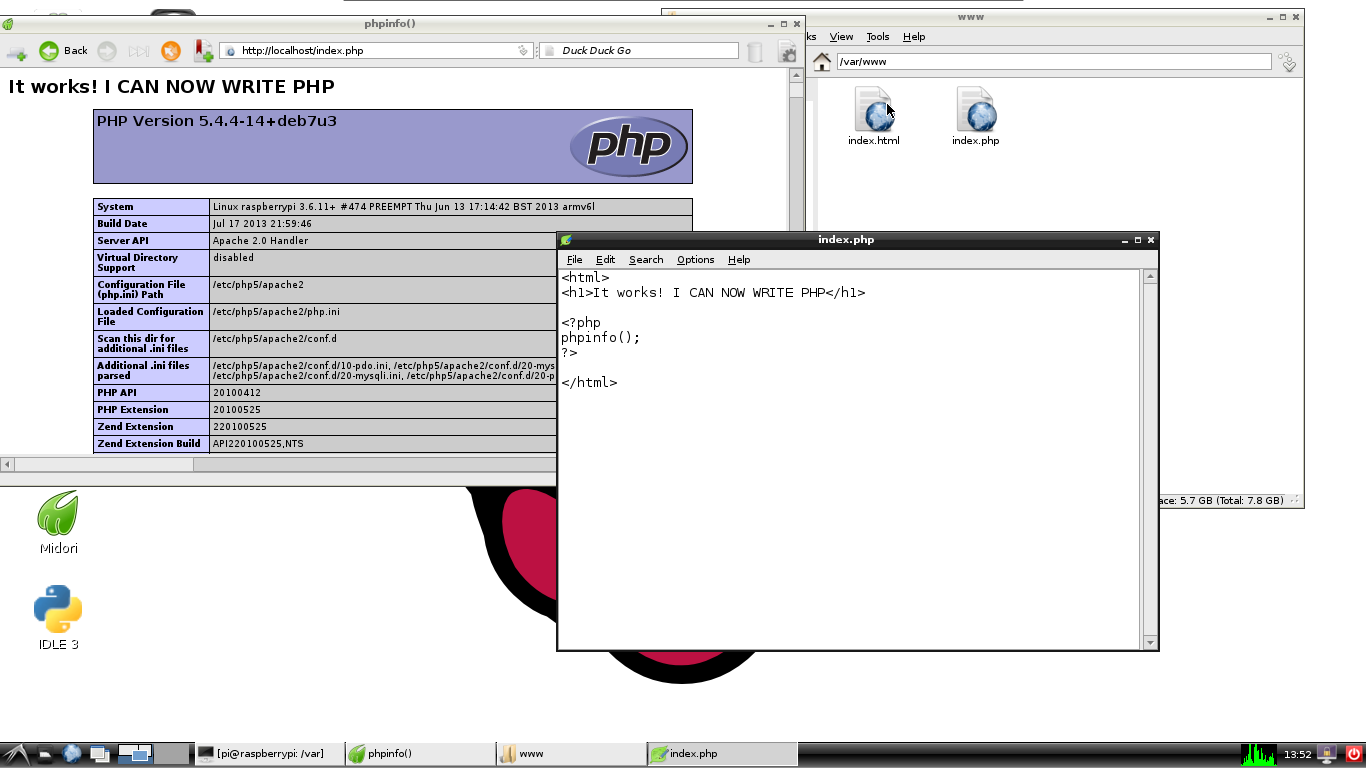
Again hit ‘Y’ at the continue prompt, and let the packages install themselves. We can test out our PHP server now by going back in to Leafpad and editing the index.html file. Let’s make some changes to the code, so that our server can hand off some of the script for the PHP to be executed. We also have to remember to rename our file index.php. This is how Apache knows how to handle the new code between the <?php ?> tags.

<html>
<h1>It works! I CAN NOW WRITE PHP</h1>
<?php
phpinfo();
?>
</html>

PHP Works

Now that we have everything installed, we can now create web applications on the Raspberry Pi.  Fortunately, all of the programs we just installed will automatically start when the Pi boots up.

NOOBS Install VS RAW Image (VNC fix)

I was curious to see the difference between the NOOBS installation and traditional RAW image I burned to my SD Card, so I walked through both of them last night. I noted a couple of differences between the two. I just thought I’d share with those of you who’d like to know, but never take the time to find out. This little experiment also led to me finding a solution for my VNC glitch. For this experiment, I have my Raspberry Pi connected to the internet by a CAT5 cable hooked up to a switch in my entertainment center, and HDMI to TV.

The first difference I noticed was the download size of the files to put on an SD Card. The NOOBS package I used for this install was version 1.2, and weighed in at 1.11GB. Strangely, the decompressed files were the same exact size. The nice thing here is that an image does not need to be burned to an SD Card, you can simply drag the files onto the card in your file manager.

The RAW image file I downloaded for Raspbian came in at 490MB. That’s less than half of the NOOBS package, but then again it’s only one of several Linux distros that NOOBS offers. This image file needs to be decompressed from it’s zip file, and the burnt to an SD Card with a utility like Win32 Disk Imager, or any other utility that can handle these file types.

NOOBS vs. Raspbian RAW Image

I boot right into a menu with the NOOBS configuration utility that allowed me to select from a list which OS distribution I want to use. In this case, I was comparing the install to a RAW Raspbian image, so that is the Linux system I selected. Right from there the system began to install Raspbian to the SD Card, and when I finished it booted me back in to the “raspi-config” program.

NOOBS Raspbian

The first difference I noted here is that NOOBS already expands the size of your SD Card for you; where as with the image file, you need to manually have the system do this.

Upon a fresh boot of the NOOBS Raspbian install, it also appears to call a NOOBS boot loader because I can see a graphical interface on a white backdrop flash on the boot screen, almost like a BIOS. When I boot from a RAW image, this is not needed.

However, once in to the Raspbian desktop, system performance and feel seems very comparable (if not identical) to the RAW image.  I expected this to be the case, but I am not sure if the NOOBS boot loader is in memory or not.

As I mentioned the differences above (which aren’t great), I did pick up on some things I want to point out just to make installation a little smoother.  The first things, which are pretty self explanatory, occur in the “raspi-config’ setup.  Make sure to take note of your localization settings.

DSC_1060

Residing in the United States, it’s important to keep in mind that the Raspberry Pi originates back in the motherland.  With that being said, there are different dialects of English that are recognized by the Pi.  Make sure to take note of the language you are using, your locale, as well as your keyboard layout. And if you don’t speak English, you don’t have to worry about this technicality.

English (US) UTF-8

Now after coming off of an older Raspbian release from back in November, there was a minor headache I had to deal with.

Setting up the VNC server provided a little bit of an annoyance for me because of how the client software reacts differently now than it did before. This annoyance occurred with both the NOOBS install and RAW image.

After installing the tightvncserver, I used my UltraVNC Viewer to login. Annoyingly, I had dealt with some graphical artifacts on the desktop.

VNC Color Mishap

As you can see in the image above; there is the original Pi setup on the larger screen, and the VNC connection setup on the laptop.  Both screens are accessing the same Raspberry Pi at the same time.  The television is connected via HDMI, and the laptop is connected via VNC on LAN over WiFi.  A closer look at the laptop reveals some blotchy graphics on the Raspberry picture centered on the desktop.

My initial setup was done on a Class 4, 4 GB SD Card.  I considered the read/write speed to be a potential conflict, and flashed another image onto a Class 10, 8 GB SD Card.  Unfortunately, this didn’t help at all.  I had another 8GB Class 10 card with a November 2012 release of Raspbian “Wheezy” on it that didn’t give me this problem.  So I considered another potential cause, running two graphical user interfaces simultaneously.

DSC_1055

In order to run the two desktops together, I had to configure my VNC server to port :2.  In the documentation or tutorials, you see most people use port :0.  However, :0 and :1 were being used locally so I just tried the next port, :2.  I now wanted to reverse this local configuration, so I went in to ‘raspi-config’ and disabled the ‘Enable Boot to Desktop’.

After booting back to a shell, I initialized my VNC server on port :0.  I logged in the way I usually did from my UltraVNC Viewer, and I still had the distorted desktop.

To make a long story short, the local connection settings in my UltraVNC configuration had to be slightly modified. Now I’m back to the clean looking remote desktop.

In most on-line tutorials I see,  the speed option is usually set to ULTRA (>2MBits – Experimental).

vncsetup

With just a little trial and error, fortunately I found that ‘LAN (> 1Mbit/s) – Max Colors’ works just as I had it before with earlier releases of Raspbian.  The small configuration change on the client side eliminates the color problem I had on my connection. I played around on the server side as well, but this simple solution was really all that I needed.

Install An Operating System On An SD Card

SD CardAs the Raspberry Pi shows up in a package at your house and you pull that small embedded system out of the envelope, you have an entirely almost complete system in your hand. I say almost complete, because everything you need to boot up is there except for a medium to load your operating system and store your files. This is where the SD Card comes in.

The SD card essentially acts as the hard drive for your Raspberry Pi. It’s your job to find an SD card to prepare for booting up your Pi, and most people will recommend not using an SD Card smaller than 4GB. With the cost of memory cards these days, you should have no problem finding a card at least that size or larger for anywhere from $8 to $24. I use and recommend a Class 10 card, but I’ve seen most distributors sell a pre-installed OS on Class 4 cards. The difference between classes is the speed of reading and writing data on the card. The time it takes to install the operating system on the SD Card is very noticeably faster on the Class 10.

In order to prepare the card for booting up your Raspberry Pi, you will need a computer that has a memory card slot available to copy an image of your selected operating system to. Raspbian “Wheezy” was the original Linux distribution designed specifically for the Raspberry Pi, and has the most community support. As popularity continued to grow, you can now find a Fedora distro -“Pidora”, a minimal Linux system called RISC OS, XBMC for those looking to design a home theater system, and a version of Arch Linux for more advanced users. Like choosing which version of Windows you run on your PC, you can also choose different flavors of operating systems for your Pi. The NOOBS software package was designed for first time Pi users to get up and running. If you are doing this for the first time, I will recommend installing the Raspian “Wheezy” distro.

Preparing your SD Card can be done from any type of operating system on your computer, whether it’s MacOS, Windows, or Linux.

The Raspberry Pi community has an already established wiki that walks you through the installation.  From this link you will find the several options that I have mentioned, and the choice is up to you.

After burning the desired image to your SD Card, all you need to do is insert the card into your Pi and plug in the power.  There is no On/Off switch on the Pi, and to get mine running I just used an old USB cell phone charger.  Make sure you have at least 5 volts of power running 700ma.

Installation is not complete by simply burning the image to your SD Card, after booting up the Pi walk through the installation dependent upon your selected OS, and make sure to enable the full capacity of your SD card if it hasn’t been done already.  Windows computers use a FAT file system structure, however an efficient Pi system will want to be running on the ext4 partition.

The benefit again of having the Pi boot off of an SD Card is that you can buy a card for each and every OS you want to take a look at.  If you have common files you want to use between them, then you consider a small USB thumb drive.

Why Raspberry Pi?

I have to say, I get some funny looks from people when I try to discuss the Raspberry Pi with those who are not familiar with it. I explain to them that it’s a computer, but it’s not quite as fast as the ones we usually use.  And well, it can’t quite handle all of the tasks we need it to. Your typical computer user likes social media, e-commerce, and writing office documents. That’s not the Pi.  It potentially could be used for some of that stuff, but that’s not why you want a Raspberry Pi.

I first got in to computers when I was twelve, just over twenty years ago. I got a paper route, and saved up my money for a year straight to buy myself a computer. Almost one thousand dollars later and a little help from my dad, I have a 386SX 16mhz beast with 2 megs of RAM and a 40MB hard drive. To me, that thing was awesome. And really, it was pretty good for the time.

Fast forward to now, and for $35 I ordered myself a Raspberry Pi. The change in technology over time really fascinates me. Let’s compare the difference here. The Raspberry Pi features an ARM processor which is designed to run at cooler temperatures than say a desktop PC, thus not needing a fan. However, the cycle time on the Pi can safely be overclocked to 1Ghz. That is 16mhz vs 1000mhz. It’s incredible.

I also jumped on the Pi train a little premature when the Model B’s were being shipped with 256MB of RAM. Once the developers saw the Pi catch on, they jumped the Model B standard issue up to 512MB RAM with no price change. They doubled the amount of memory and didn’t take it out on us, the consumer. When I bought my first PC, I remember some RAM factory in Japan blew up or whatnot and RAM was selling for something silly like $40 per MB. Today, a charity ate the cost of giving us an additional 256MB because they want us to enjoy their creation and experiment more.  It’s incredible.

I don’t really need to mention the standard on-board HDMI, two USB ports, ethernet jack, or SD card slot holder. These are peripherals that we just expect, or else our device won’t work the way we want it to. But these technologies make the graphics, storage space and speed, networking data transfer rates, and sound much better than any of the primitive technology I just mentioned. It’s expected, but it’s still incredible.

Raspberry Pi Case
Essentially we have a fully functional computer that we can’t mess up, so it attracts two different groups of people. The hacker/hobbyist and the person who wants to learn more about Linux and computers now have an excellent platform to go at it on. This site caters to both groups of people.sentially we have a

The Raspberry Pi isn’t really a single computer either, it’s as many computers as you want just by swapping out your SD card. For under $10, you can purchase an additional SD Card so you don’t have to interrupt the work you’ve already done. But now, you can try another Linux distribution or load some software you may want to tinker with, but not have hog resources on your primary card.

Parents have no need to worry about their kids messing up the computer while hacking.  One caution though I want to mention is opening a port for a server on your router and exposing the Raspberry Pi to the world.  You’ll be getting people all day long trying to get in. So while I’m thinking of it, change your “pi” account password if you haven’t yet.

Essentially what I want to stress is that for the cost of a cheap night out for dinner, we can expose ourselves and children to the wonderful world of tinkering. No need to worry about screwing up a system while we learn anymore.  With all of the open source projects and technologies, it’s time we move on from the “Microsoft Power Point” classroom courses, and actually learn something technical. We can learn how these systems work and not have to be a slave to customer support. It’s not for everyone, but it is for me, and you too if you read this far.  Join me on this journey, the sky is the limit.